AI tattoo stencil generator
Generate a printable tattoo stencil
Describe your design and every generation includes a clean, line-only stencil output — no shading, no color, ready for transfer paper. The prompt is pre-filled with a bold, stencil-friendly subject; replace it with your own and generate.
4 designs per set
Line sketch, 2 finished designs and a placement preview
Fine-tune placement & lookNo placement · Square 1:1 · Black & Grey · Medium
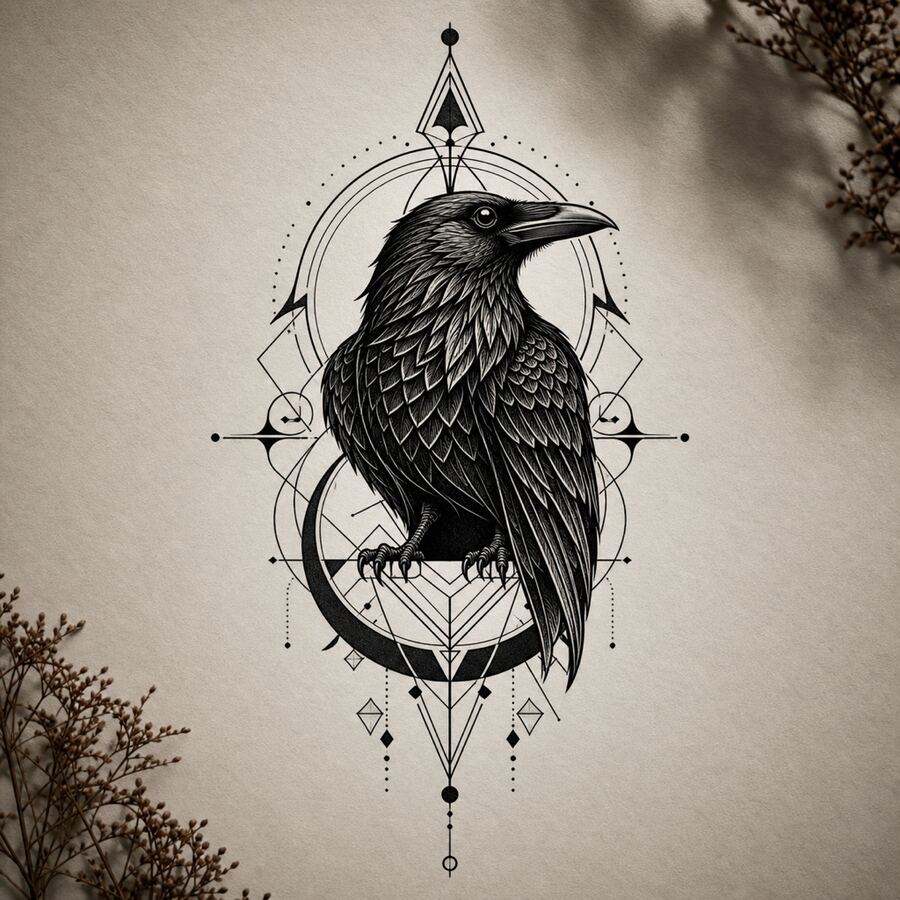
Your design appears here
Write your idea, then tap Generate — defaults are already set.
Four outputs per generation
Each run returns a line sketch, two finished directions, and a placement preview so users can compare before choosing.
Clear credit boundary
Starter credits create watermarked previews. Credit packs continue generation; Pro unlocks clean, watermark-free downloads.
No public creation gallery
InkBolt is built as a private working flow and does not automatically publish prompts or generated designs to a public gallery.
Before you bring it to an artist
- Use the line sketch as a reference for an artist, not a final stencil guarantee.
- Upload a reference photo when shape, pose, or style matters.
- Check placement and scale before committing to a studio appointment.
What a tattoo stencil is — and why AI-generated ones save time
A tattoo stencil is the line-only outline that guides an artist's needle: no shading, no color, no gradient — just clean contours transferred onto skin before the tattoo begins. Traditionally, getting a stencil meant either hand-drawing one, paying a designer, or waiting for your artist to produce one during a paid consultation slot.
This tool generates a dedicated line-sketch output alongside every finished design — the same generation that shows you shaded, colored previews also produces the stencil-ready version. That means you walk into a consultation with both a visual reference and a transferable outline, instead of a vague verbal description.
Because the stencil comes from the same prompt as the finished preview, the two stay consistent — the outline you print is structurally the same design you and your artist discussed, not a separate drawing that has to be reconciled by eye.
How to generate and print a tattoo stencil
Describe your design
Type the subject you want stencilled. Bold, high-contrast subjects — animals, anchors, geometric symbols — transfer more cleanly than fine painterly detail.
Pick a stencil-friendly style
Blackwork, dotwork, minimalist, and geometric styles produce the cleanest outlines. The default is set to blackwork for strong, unambiguous lines.
Generate your four-image set
One generation returns a line sketch, two finished directions, and a placement preview — the line sketch is your stencil.
Download and print
Download the line-sketch image at full resolution, then print it onto transfer paper sized to your placement.
Stencil vs. finished design: what is the difference?
Every generation on this page returns both, but they serve different purposes. Here is how to tell them apart and when to use each.
| Criterion | Stencil (line sketch) | Finished design |
|---|---|---|
| Contains shading/color | No — line only | Yes — full rendering |
| Purpose | Guide for the needle during application | Visual preview of the final result |
| Print-ready | Yes, designed for transfer paper | Not typically printed for application |
| What you bring to your artist | The stencil for tracing/transfer | Reference for style and color direction |
Which styles make the strongest stencils?
Not every tattoo style translates equally well into a transferable outline. The styles below are ranked by how cleanly their linework holds up once it is stripped down to a stencil.
Blackwork
The strongest stencil candidate by design — blackwork is built from solid shapes and bold contours with no gradient to lose in translation. What you see in the line sketch is essentially the finished look already.
Dotwork
Stencils simplify dotwork into its underlying structural outline; the stippled shading itself is applied freehand by the artist during the session using the stencil as a placement and boundary guide.
Minimalist and geometric
Fine, deliberate linework with generous negative space stencils cleanly because there is little competing detail. These styles are a safe default when you are unsure which style to pick for a stencil-first workflow.
Traditional and neo-traditional
Bold 3–5 pt outlines transfer reliably, though the finished color fill is not part of the stencil — your artist applies color freehand within the transferred boundary.
Watercolor and realistic
These styles rely heavily on shading and soft edges that do not exist in a line-only stencil. The outline still gives your artist a placement guide, but expect more freehand interpretation during the session for these two styles specifically.
Tips for printing and transferring your stencil
- 1 Choose bold, high-contrast subjects. Animals, anchors, geometric symbols, and lettering transfer more cleanly than intricate painterly detail. Blackwork, dotwork, and minimalist styles are tuned for this.
- 2 Use thermal transfer paper for studio-grade results. A thermal copier machine transfers the outline in a temporary purple ink directly onto skin — the professional standard most artists use.
- 3 Standard paper works for consultations. If you are bringing a reference to your first meeting rather than transferring it yourself, any printer and paper is fine — your artist will make the final stencil copy.
- 4 Print at your intended size. Scale the printout to the actual placement dimensions before transferring — resizing after transfer distorts line weight.
- 5 Let your artist make the final call. A generated stencil is a strong starting point, not a replacement for a professional's judgment on how lines will hold up as skin heals.
Explore related tattoo tools
- AI tattoo generator — the full studio for open-ended exploration across all styles and placements.
- Tattoo maker — the fastest way to turn a blank idea into a tattoo-ready image.
- Tattoo designer — for deliberate composition and placement control on larger pieces.
- Virtual tattoo try-on — preview the finished design on your actual skin before you book.
Frequently asked questions
What is a tattoo stencil? +
A tattoo stencil is a line-only outline of a design, without shading or color, used to transfer the composition onto skin before tattooing.
How do I print or transfer a generated stencil? +
Download the line-sketch output, then print it onto thermal transfer paper using a thermal copier machine, or standard paper if your artist uses a hand-transfer method. Size it to match your intended placement before applying.
What paper should I use? +
Professional studios use thermal transfer paper run through a thermal stencil printer. For printing at home to bring to a consultation, plain paper is fine.
Is the line-sketch stencil output free? +
Yes. Every generation — including the line-sketch variant — is included in the standard credit cost. Sign in for 8 free credits. Watermark-free, print-ready resolution unlocks with Pro.
Can my artist use the stencil directly? +
Yes. The line-sketch output is built for this — clean outlines with no shading noise, sized for printing. Most artists still make small adjustments for your exact skin and body curve.
What is the difference between a stencil and a finished design? +
A stencil is line-only because that is all a transfer needs to guide the needle. A finished design includes shading and color to preview the healed result. This tool generates both from the same prompt.